The Media Content Manager allows you to manage the media files available on BusPlanner Web. This includes the uploading of new media files like Documents and Videos as well as the management of which user types have access to which files. Media files can be uploaded from a local machine and are then stored on the server machine. They can be downloaded or viewed on a local user’s machine. BusPlanner Web comes with a default media player but others can be used.
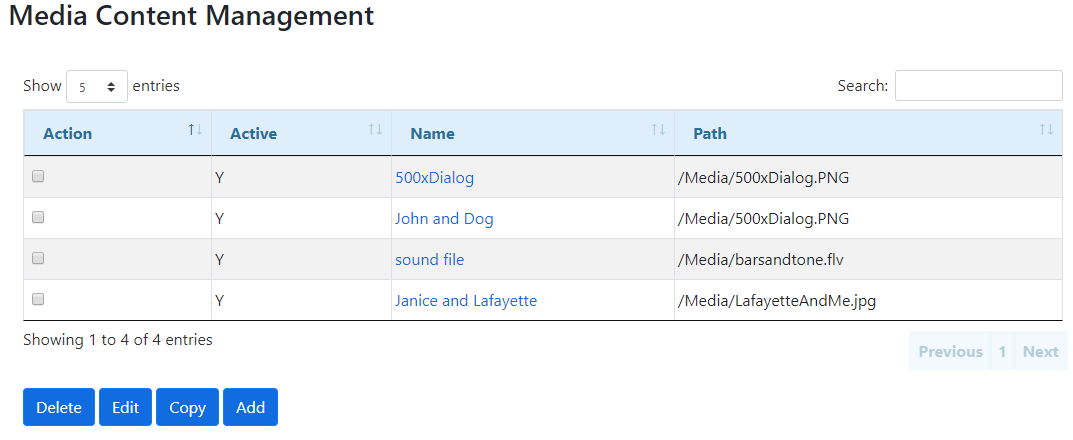
•Active - Indicates the Site Administrator know whether users can actively access media files. This allows many media files to be on the BusPlanner Web site and only allows them to be available at certain times of the year.
•Name - The display name of the Media File.
•Path - The Path is the location of the media file on the BusPlanner Web Server. This makes for easy file retrieval and replacement if needed.
•Media Count - The number of media files currently available on the BusPlanner Web site.
 Editing Media Content
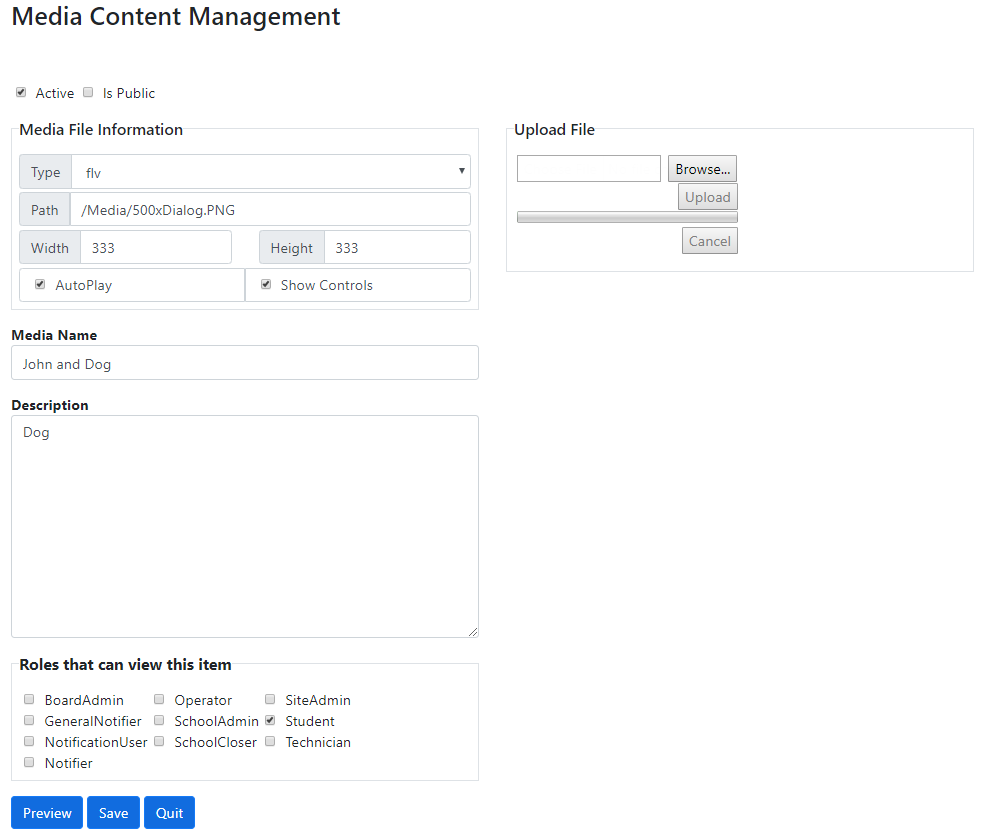
•Active - If checked, the media file is currently active. Only active media is available on BusPlanner Web. •Is Public - This feature will allow media to be available to the general public without logging into the Student or Professional Logins. It is currently not used in BusPlanner Web. •Type - The file type of a media file. The type is determined when the file is uploaded. •Path - The location of the media file on the BusPlanner Web Server. The path makes for easy file retrieval and replacement if needed. •Width - The default pixel width of the media file. This setting is for video files only. •Height - The default pixel height of the media file. This setting is for video files only. •AutoPlay - If checked, BusPlanner Web will automatically play any video files once the video link is clicked by a user. This setting is for video files only. •Show Controls - If checked, BusPlanner Web will show controls for the media player once a video file is loaded. This setting is for video files only. •Upload File - The location from where a media file is uploaded from the local user’s machine. For more detail, see the Adding Media to BusPlanner Web section. •Media Name - The display name of the media file that users will see. It is also the name of the link which will open the media file. •Description - A more detailed description of the media file. It can provide greater detail and context for the user. •Roles that can view - If you are a site administration user, this is the area where you can determine which user roles have access to a media file. For more detail, see the Adding Media to BusPlanner Web section. •Preview - This button allows you to preview a video file before it is added to the site. For more detail, see the Adding Media to BusPlanner Web section. |
 Adding a New Media File
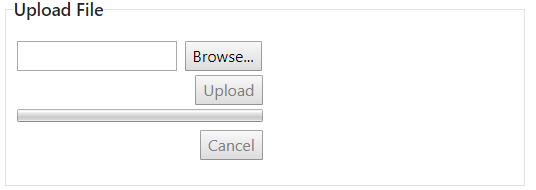
To add a new media file to the BusPlanner Web site, the file has to be on the local user’s machine. BusPlanner Web can play a wide variety of video files, although the .flv file type is the most common. To start adding new video files click the Add button in the Media Content Manager section of BusPlanner Web. To upload the video file, click the “Choose file” button and navigate to the video file. The video will then be uploaded to the BusPlanner Web Server. You can cancel this at any time if the wrong media file is selected.
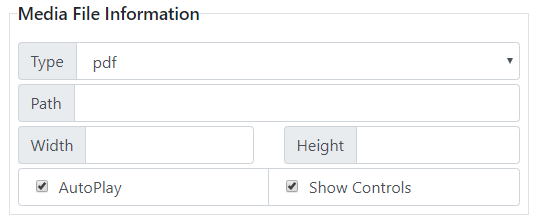
Once the video file is uploaded, the Media File Information will autofill the type and path. If you wish, you can set the default width and height of the video. This may make the video larger or smaller than the native resolution. Note that changing the native width and height may result in a degradation of the video quality.
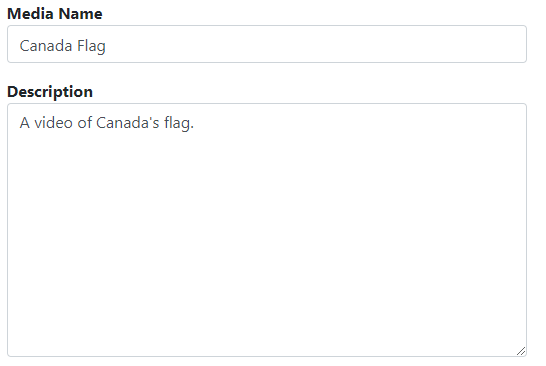
You should then enter the Media Name and Description. This will make the identification of the file easy for users and does not have to be the same video name as the uploaded file.
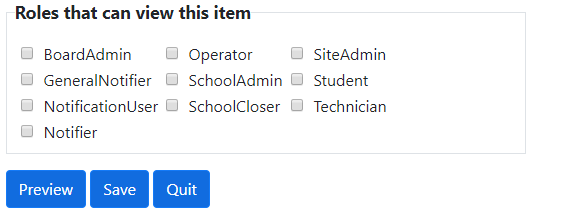
The roles that have access to this media file can be set at the bottom of the page through the check boxes. A Site Administrator can determine which roles can see which media files. If the student role is checked off, the Parent Portal will have a media toggle which will display all viewable media.
Finally, you can preview or save a media file with the “Preview” and “Save” buttons. After clicking on “Preview”, a video player will appear at the bottom of the web page and the new video file will start playing. you can save the new file to the site with the “Save” button or exit out of the new media file at any time by clicking “Quit”.
|
