In the Parent Portal, parents can click on the My Students icon to find information about their students.
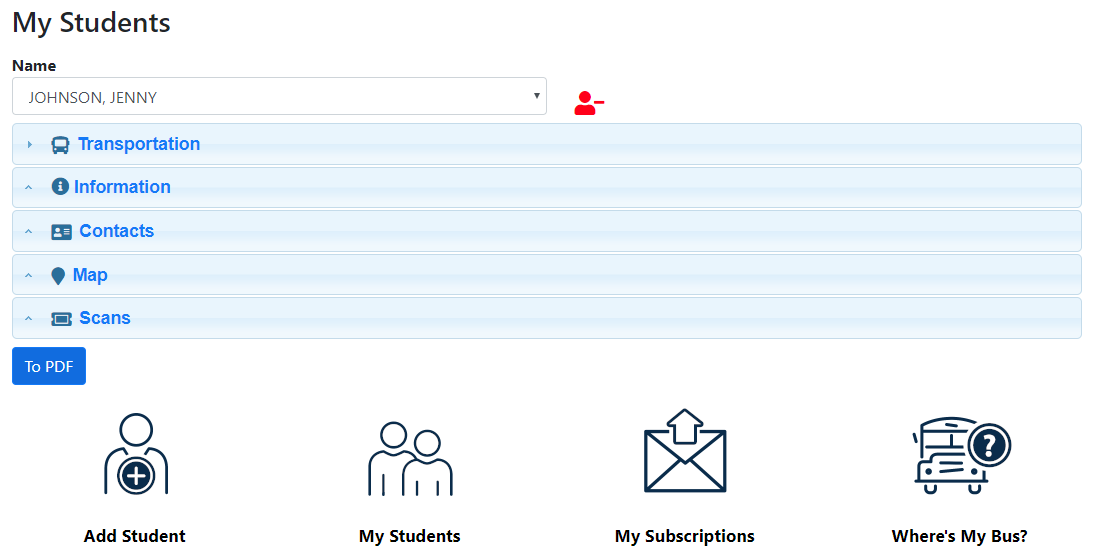
If parents have more than one student, they can choose a student by clicking on the Name dropdown:

 Adding a Student
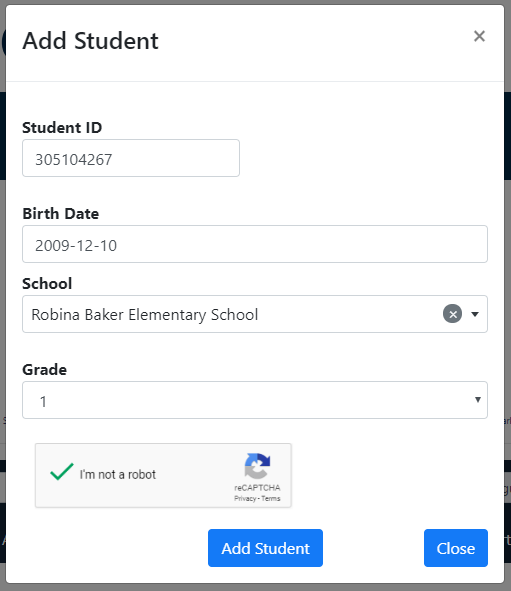
1.In My Students, click the Add Student icon at the bottom
2.Enter the required information. (These requirements are set by the the transportation department. See Setting Up Student Authentication.) 3.Check I'm not a robot. Click Add Student. 4.The student will now appear in the Name dropdown. |
 Removing a Student
1.Choose the student from the Name dropdown.
2.Click |
 Transportation
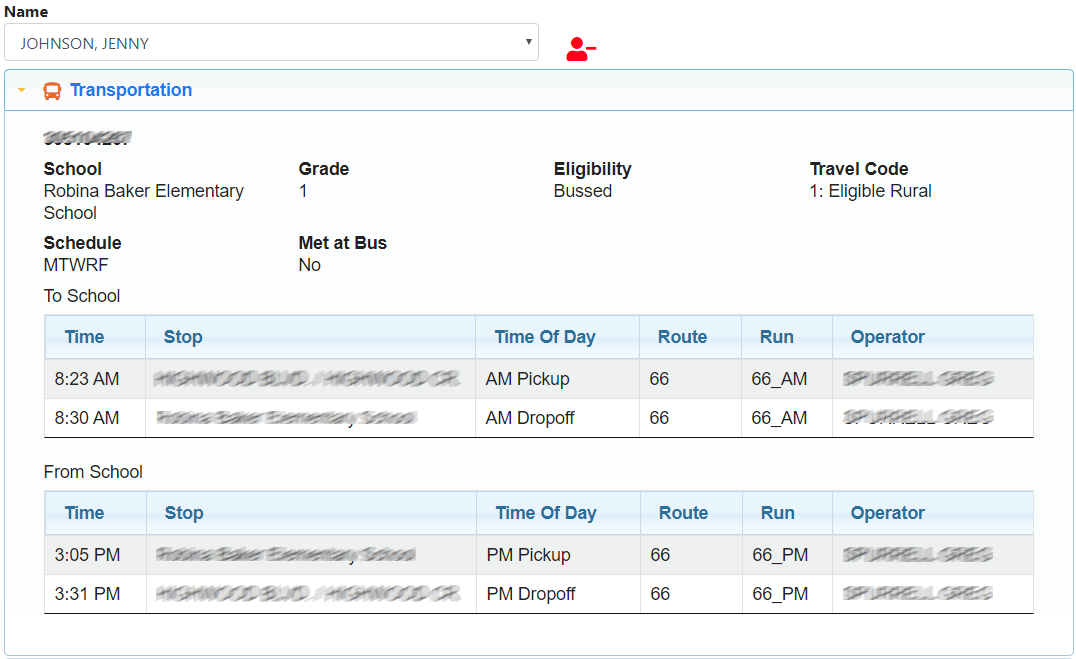
For students assigned to bussing, both pickup and drop off transportation will be displayed.. This will include the home/group stops, school stops and transfers.
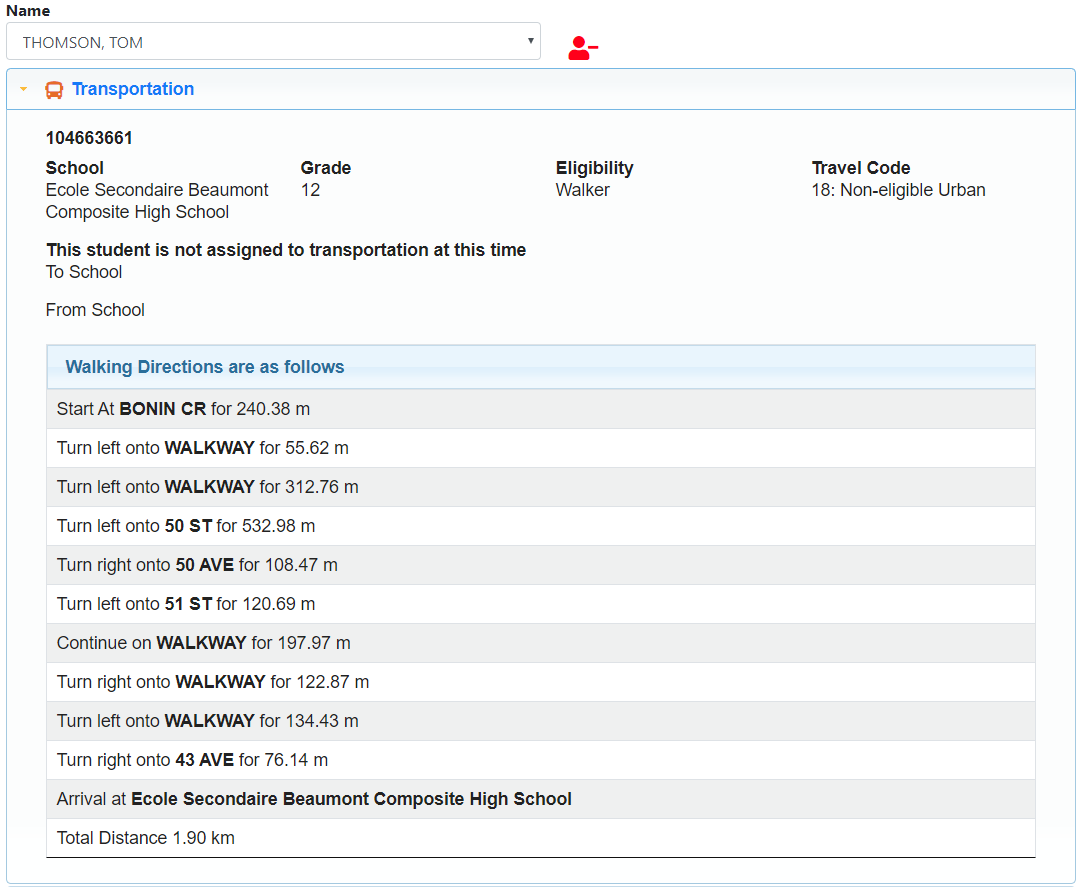
For students not on transportation, the shortest walking path to school will be displayed, if this feature is turned on.
|
 Information
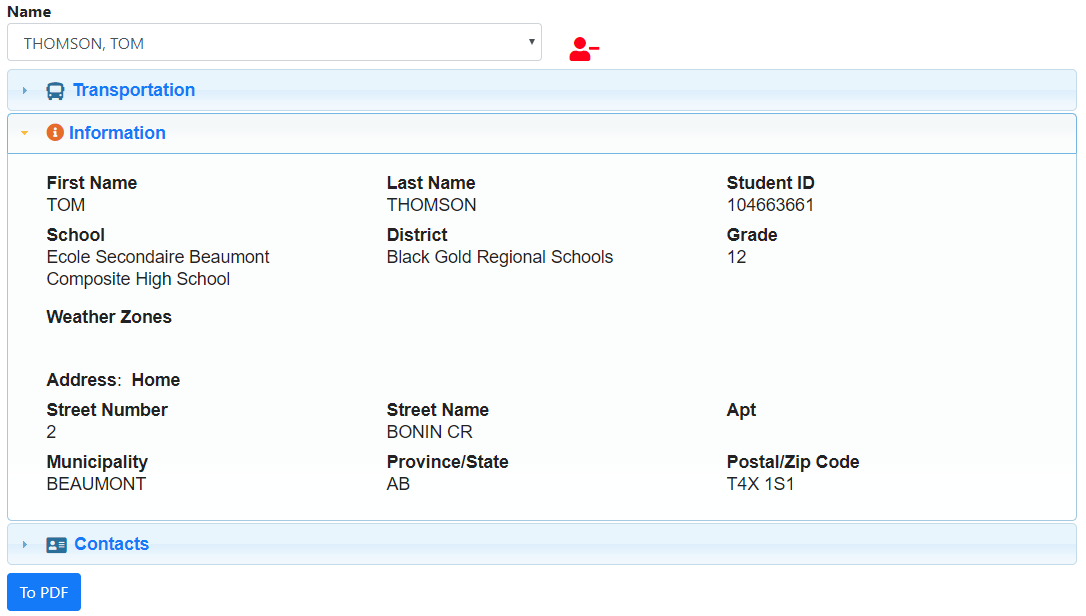
The Information section provides more detailed information about the student. This includes the student’s enrollment and address information.
|
 Contacts
Contacts displays student contact information, such as parents, sitters, etc. Note: This toggle appears only if Site Administration > Settings > ParentLogin_ShowContacts is set to true.
|
 Map
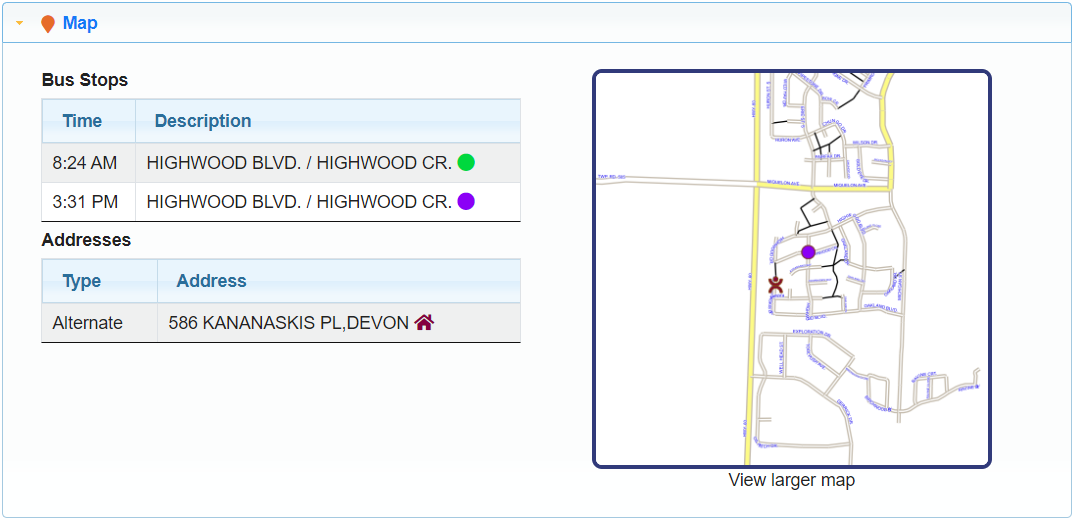
Map
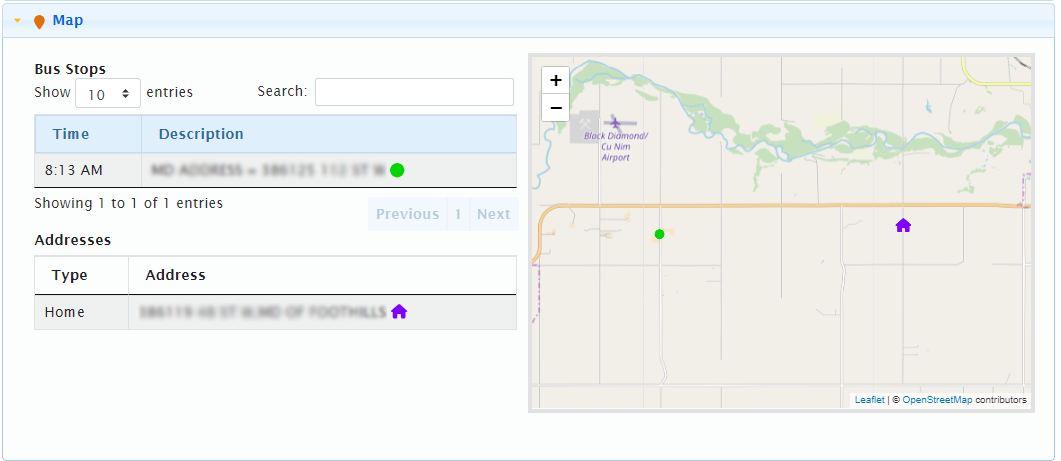
This map shows the location of the student and their stops. The colour of the objects on the map corresponds to the colour of the objects listed to the left. If the Map Type displayed is a BusPlanner Map:
•To view more detail, click View larger map. This will open a map which you can zoom and pan. See Maps in BusPlanner Web’s Public Query for more details.
If the Map Type displayed is OpenStreetMap:
|
 Scan
Scan
Here, parents can see student scan information from when they get on or off the bus. Note: This feature works only if you are using a GPS provider that collects student scan data. The toggle appears only if Site Administration > Settings > ParentSubscriberLogin_ShowGPSTab is set to true.
To see student scans: 1.Choose a Student Card from the dropdown. 2.Select a Range, and choose the From and To dates if applicable. 3.Click Show. |
